
What is a Minecraft Shader?
A shader is simply a file that changes the way Minecraft renders lighting and shadows. This article will not only teach you how to install Minecraft shaders, but it will give you a few important tips on using shaders as well.
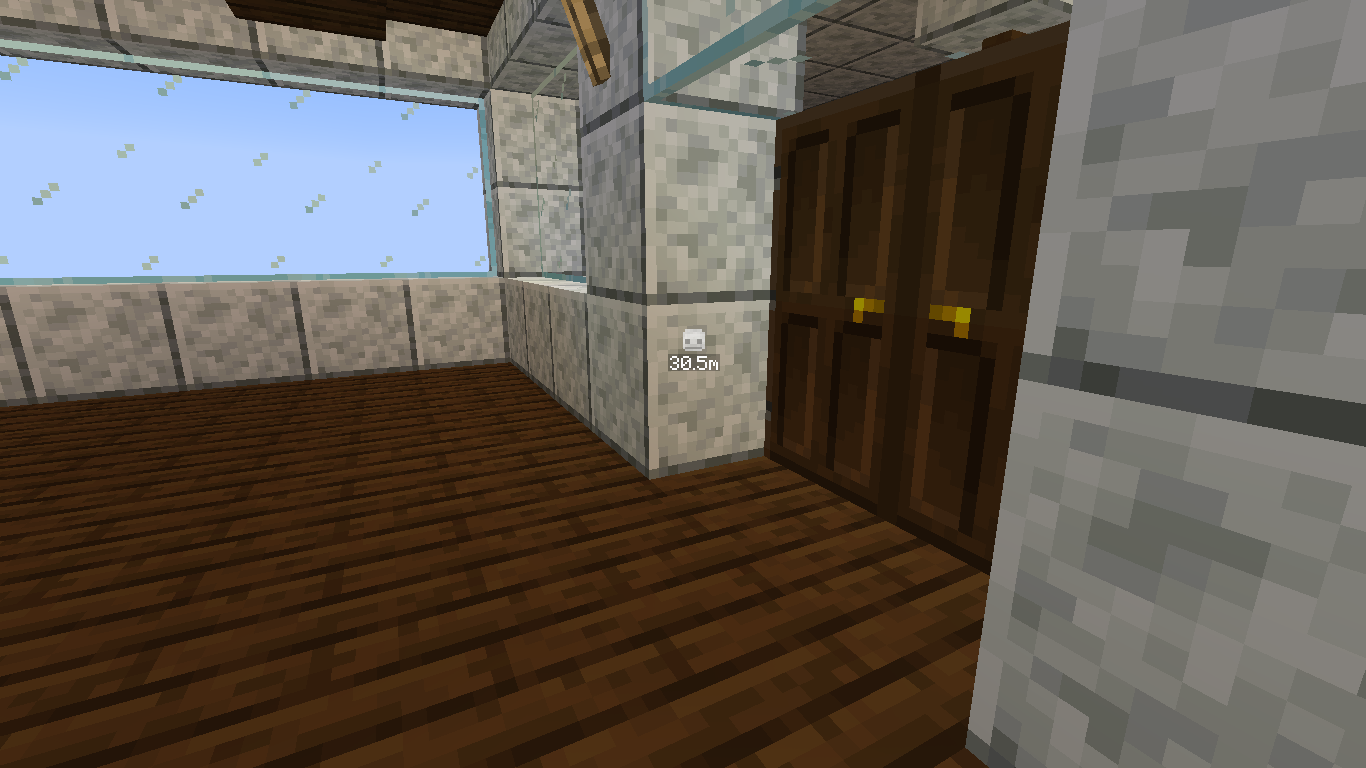

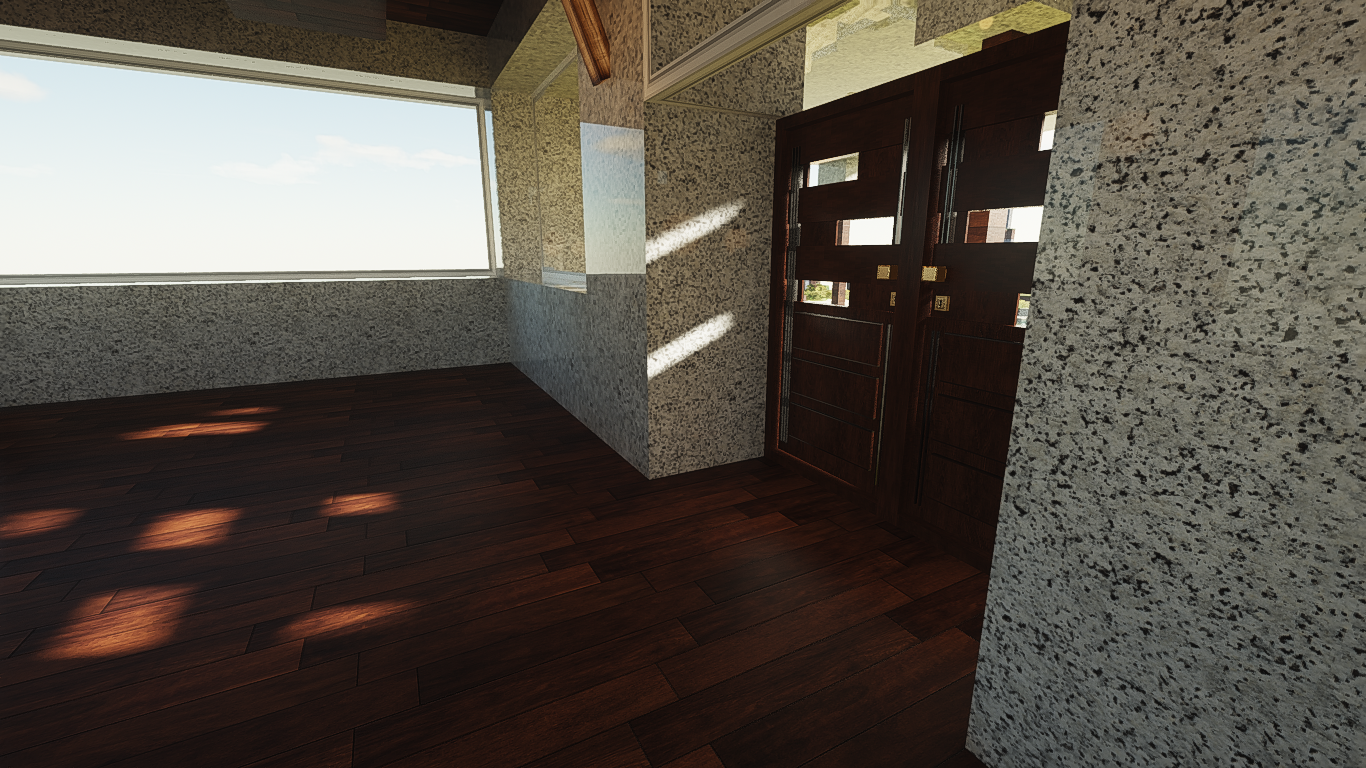
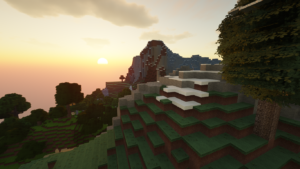
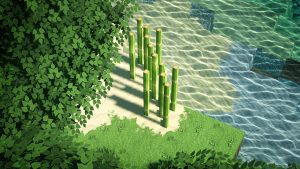
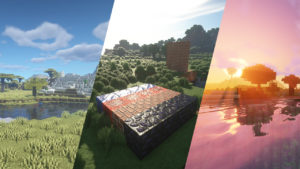
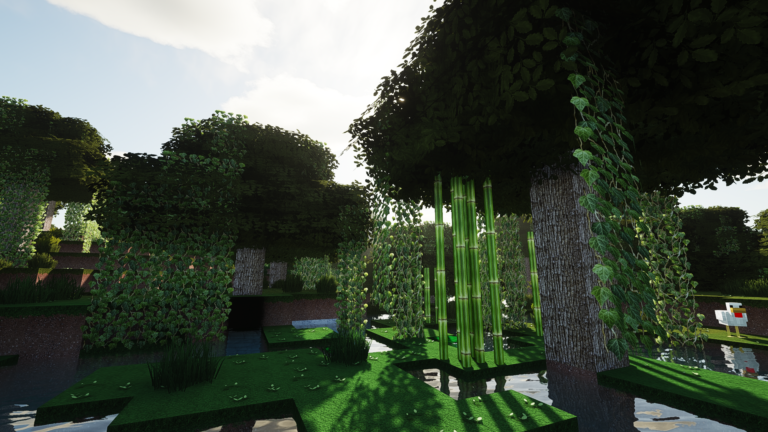
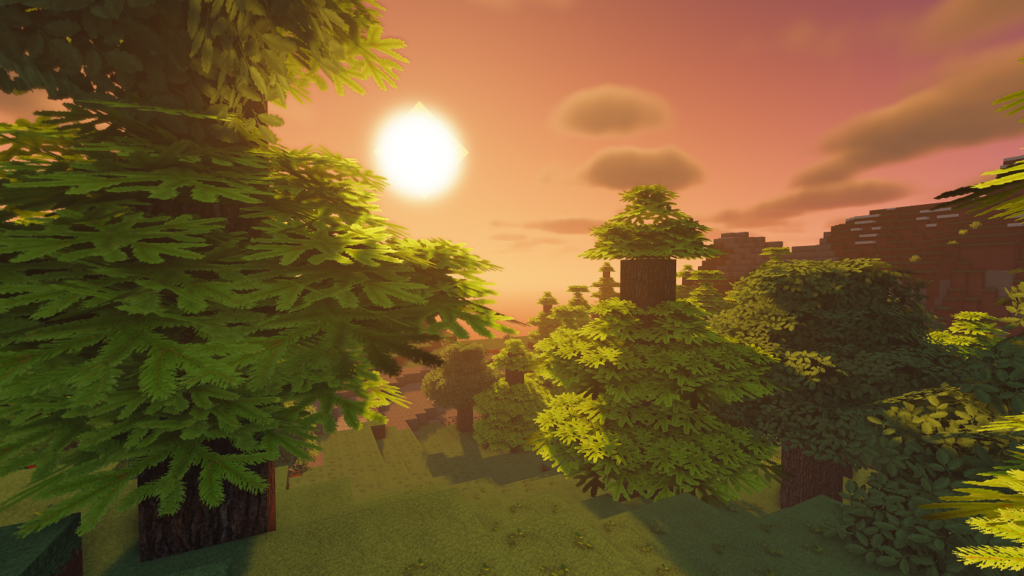
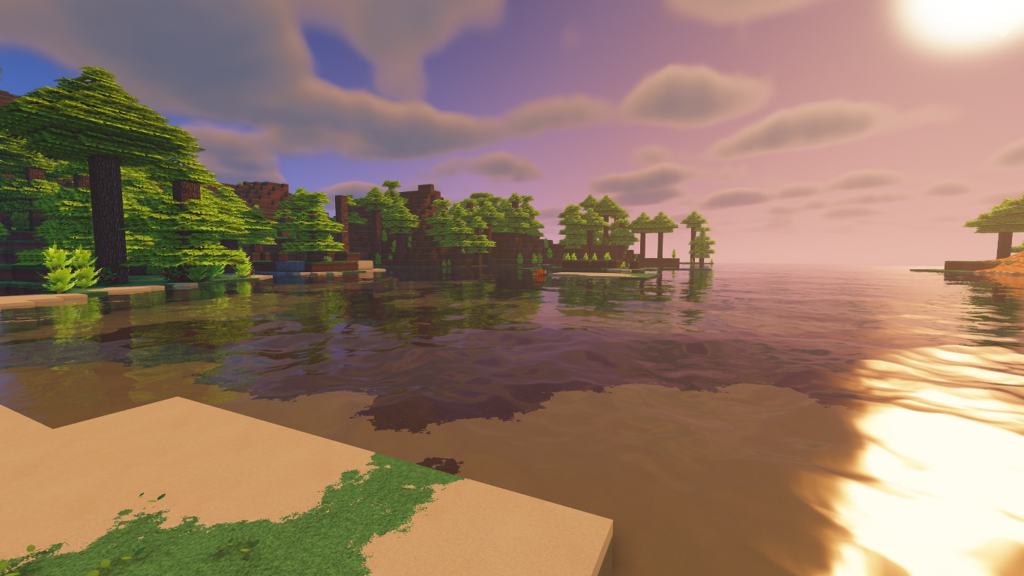
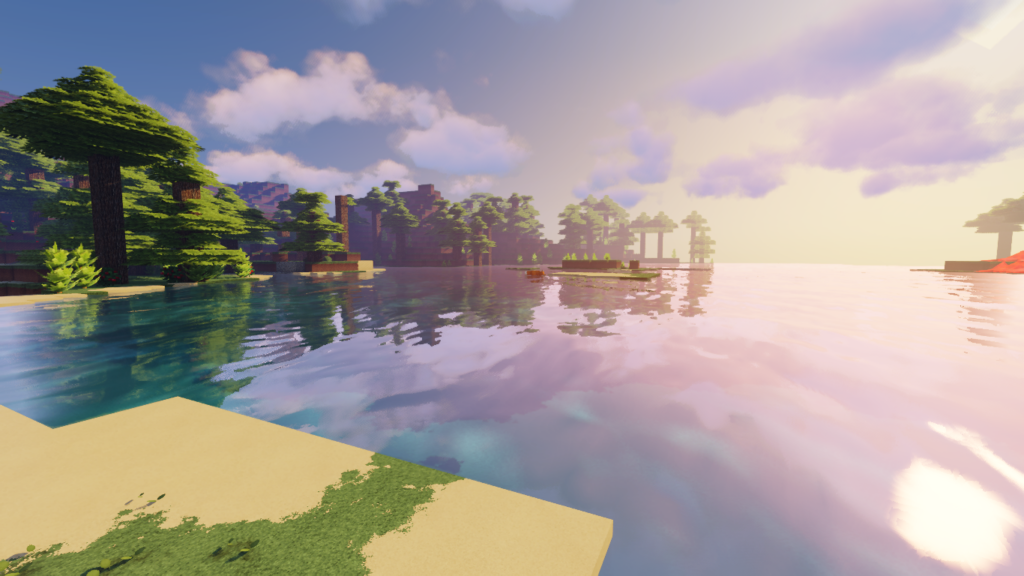
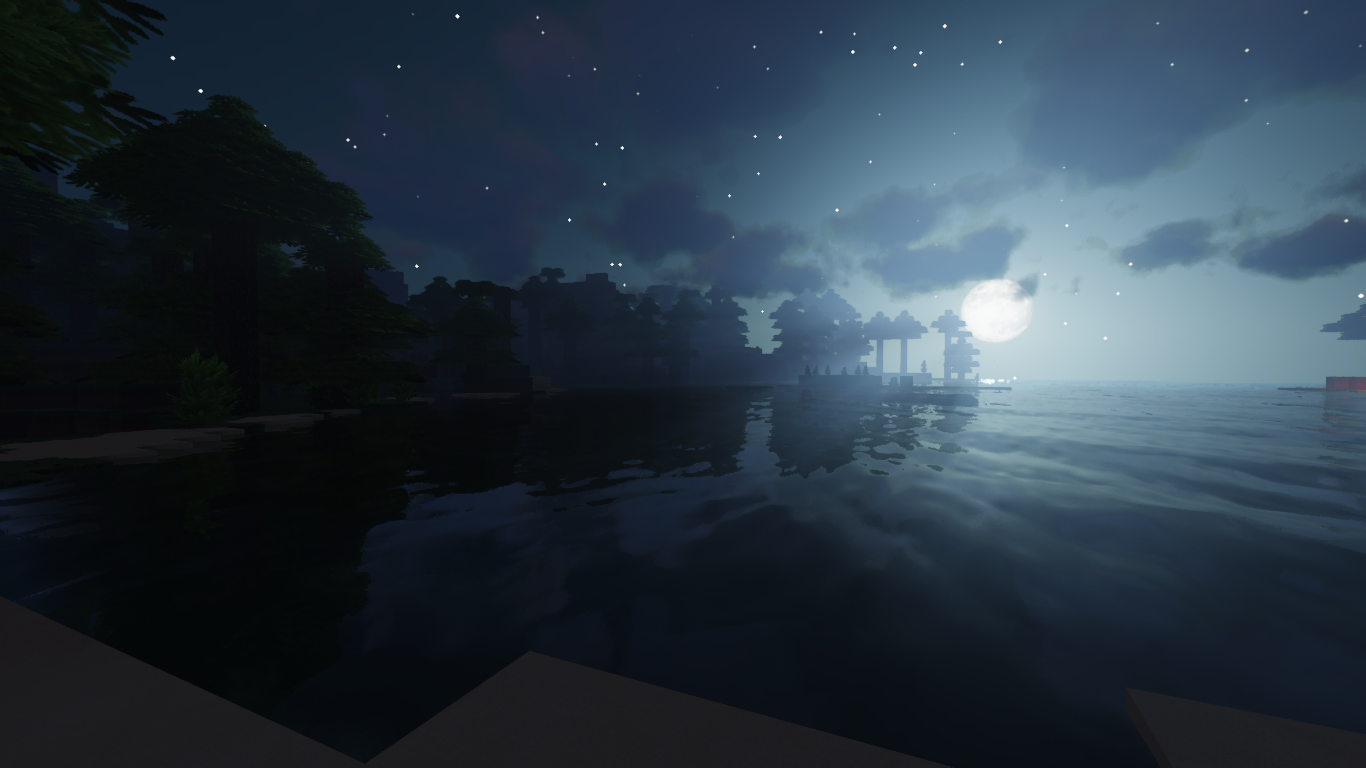
As you can see, a shader pack can bring a whole new light to the blocky world of Minecraft as we know it! If you pair these shaders with a high resolution texture pack such as Realism Mats, the game’s beauty becomes even more apparent.
Important Things to Know Before Using Shaders!
PLEASE, Read this carefully and understand that Java Minecraft was not meant to use this kind of rendering to begin with, so performance will greatly vary from user to user depending on PC specifications.
There is no set PC setup that will run perfectly with all shaders in Minecraft. Currently, I am running a Ryzen 3900X, a GTX 1080, and 32GB of system RAM. This setup can run MOST things pretty much flawlessly. However, when it comes to Java Minecraft and shaders, I got a big slap in the face. In order to achieve 45+ FPS stably with SEUS PTGI and Realism Mats, I have to play the game at 1366×768 windowed resolution. There are a few things that I have figured out that will help stave off the frustration of having less than 60FPS IN MINECRAFT on a ridiculous PC setup.
- Don’t assume your PC can run Minecraft with shaders smoothly without adjusting a few things.
- There are a lot of settings in Minecraft, ESPECIALLY with Optifine installed, which is required for ANY shader. That being said, shaders add EVEN MORE settings, try your best not to get overwhelmed with the excessive amount of control you have over game visuals with some shaders. Changing a single setting can be the difference of 50 and 100 FPS in some cases.
- Just because a video on YouTube says 4k/60FPS, that doesn’t mean the creator gets 60FPS while PLAYING Minecraft. The video was most likely recorded using a mod and then edited to 4k/60FPS. Now, that being said, there are PC’s that are able to achieve those benchmarks, so before you go doubting your PC’s ability, do your research.
Where Can I get a Shader Pack?
With all this talk about shaders, you may be asking yourself: “Where can I get one of these shader packs?” Well, here are some links to a few of my favorite shader packs.
- Sonic Ether’s PTGI: https://www.patreon.com/sonicether. This one is in my opinion, the shader to beat when it comes to Java Minecraft. It comes equipped with Path Traced shadows and reflections. It is absolutely stunning visually and gives the user a decent amount of control over the look of the game. However, this one comes with pretty steep performance curve along with a monetary price to obtain the pack. If you are planning to use this shader, please be advised that you will definitely need to sacrifice some screen resolution if you want to run it smoothly.

- BSL Shaders: https://bitslablab.com/. BSL is another amazing shader pack once you get it finely tuned to look the way you want it. When I say finely tuned, I am speaking literally. This one has a TON of options to fiddle with to get that perfect visual you are looking for. The creators have done a pretty decent job with this one! BSL, in addition to shadows and reflections, also implements things like waving grass and vines into your world. It brings a whole new meaning to visual customization to Minecraft! The performance of this shader is pretty amazing considering all it has to offer. It will run relatively smoothly on most gaming rigs AND it’s FREE!!
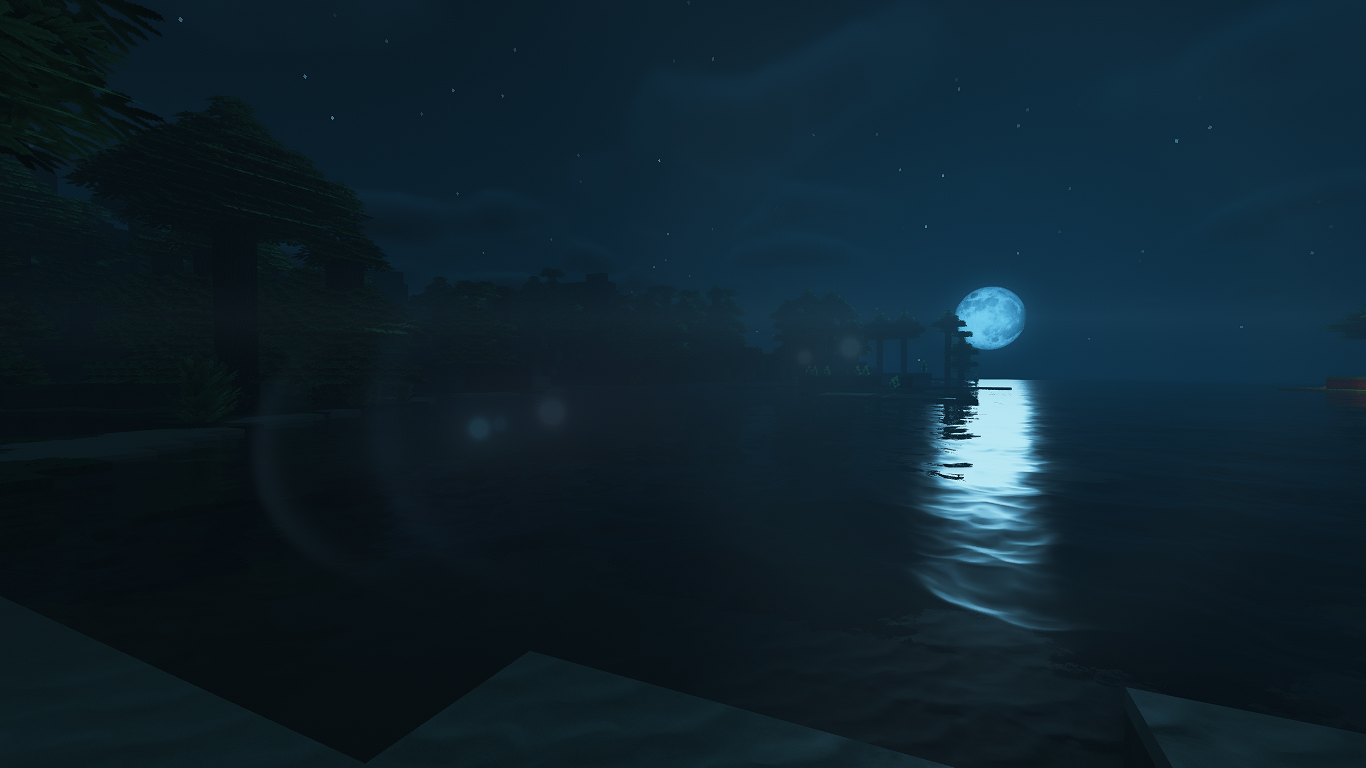
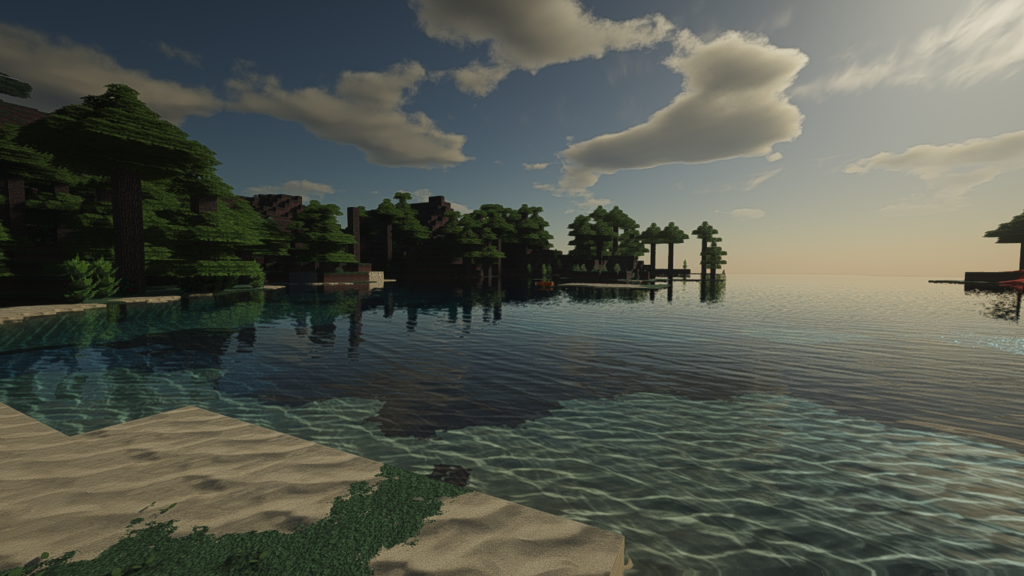
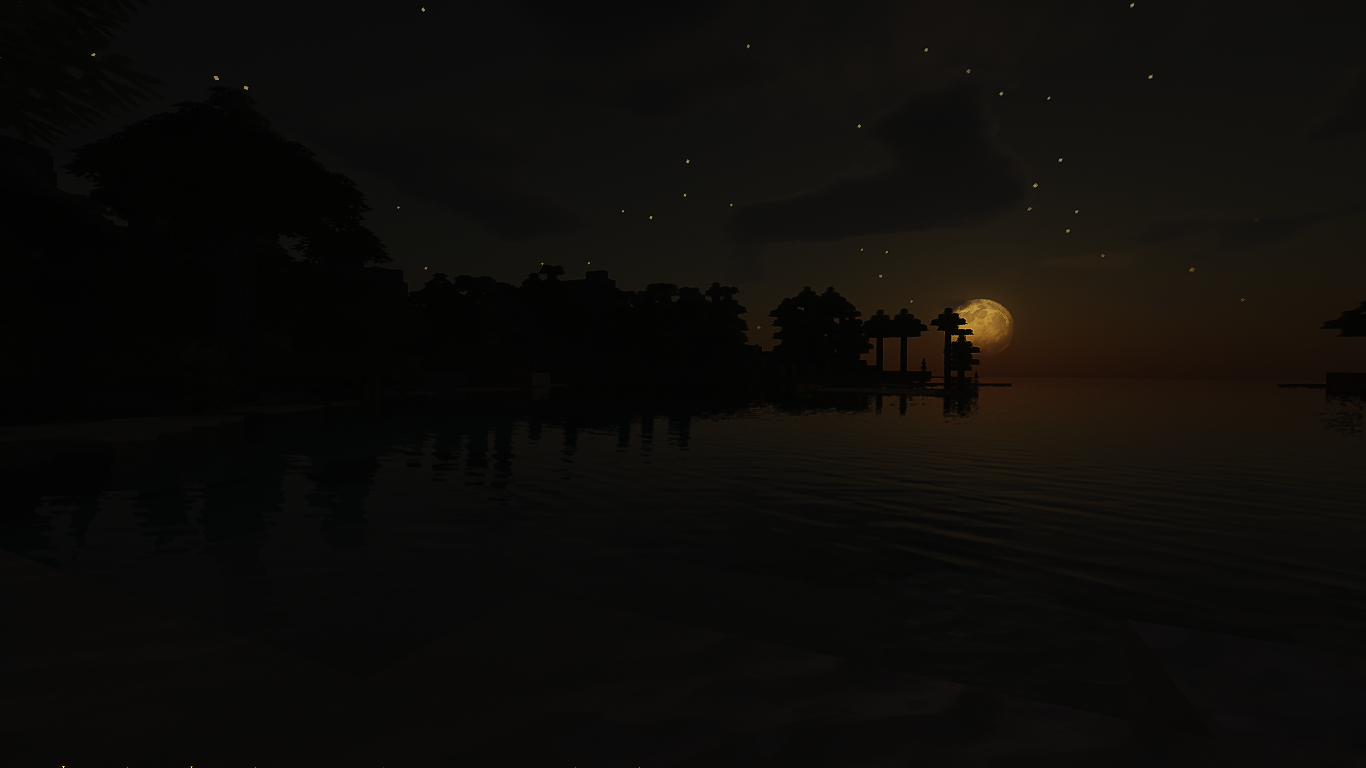
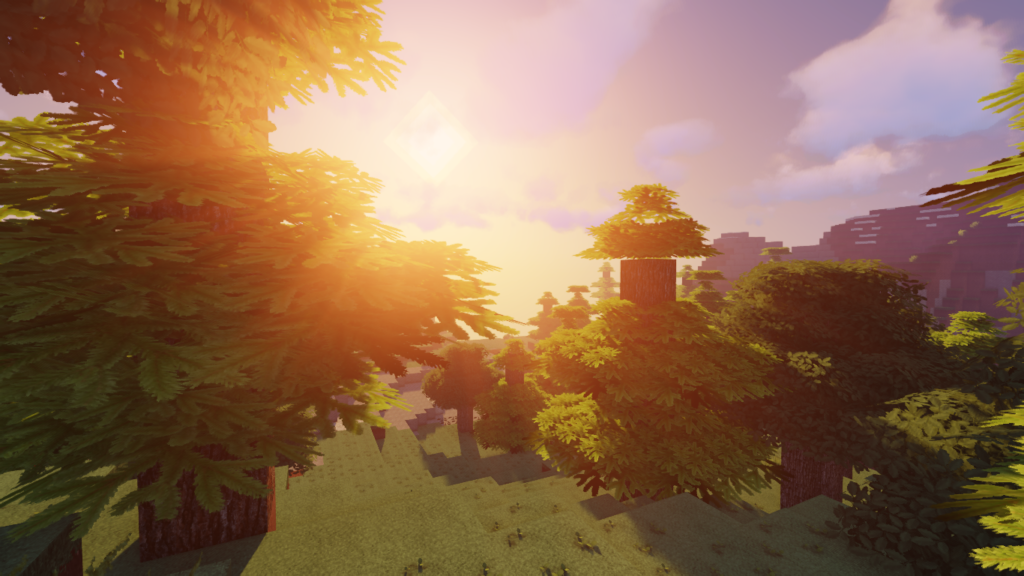
- Sildur’s Vibrant Shaders: https://sildurs-shaders.github.io/. This shader is one of my favorites. It brings a very colorful and warm feel to any minecraft world. It too, offers a plethora of visual control to the user. The only reason it is not the main shader I use is because of it’s lack of specular map usage. This means you won’t get the detail and metallic or polished reflections you would get with other shaders. However, if you are looking for amazing sunrises and gorgeous night time scenes with AMAZING performance, this is the pack for you.
ShaderLABS
There are many, MANY more shaders you can get for Java Minecraft. If you are looking for others besides the three I have mentioned above, a great place to start is the ShaderLABS Discord https://discord.gg/wkUUvADz2V. Each shader has it’s own personality and not all of them are for everyone. Search around before you choose in order to make your Minecraft experience one you enjoy!
How to Install Minecraft Shaders
First thing’s first, in order to install a shader, you NEED Optifine! If you don’t know what Optifine is, here is a link https://optifine.net/home. You are going to need to download Optifine for the version of Minecraft you plan on playing. I will use the current released version 1.16.4 as an Example.
Install Optifine
- Go to Optifine.net and click Downloads

- Click on (Mirror)
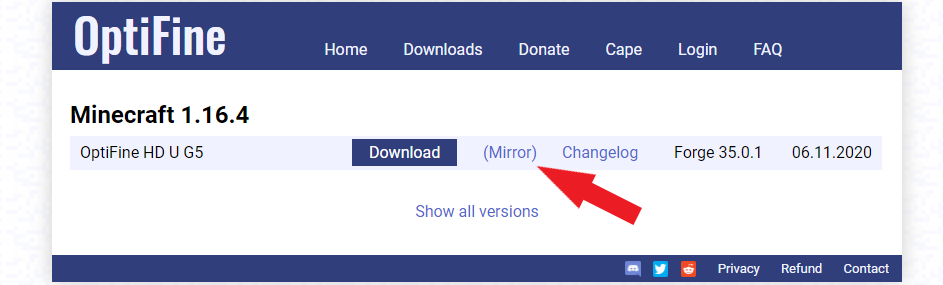
- Click the blue box that says Download

- Right click the downloaded file in the bottom of your browser and click Show in folder

Before this next step, MAKE SURE YOU HAVE LOADED UP A MINECRAFT WORLD IN THE SAME VERSION AS THE OPTIFINE VERSION YOU DOWNLOADED! If you do not do this, Optifine will not install properly!
- Once you have loaded up the version of Minecraft you want you use, exit the game and go to the window that you opened up in the last step. Double click on the newly downloaded Optifine .jar file.

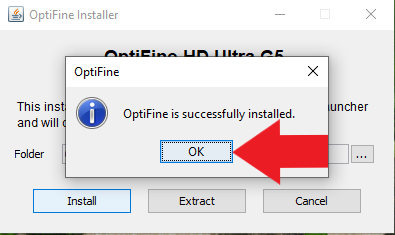
- Click on the box that says Install

- If the installation was successful, you will get the following:
Installing the Shaders
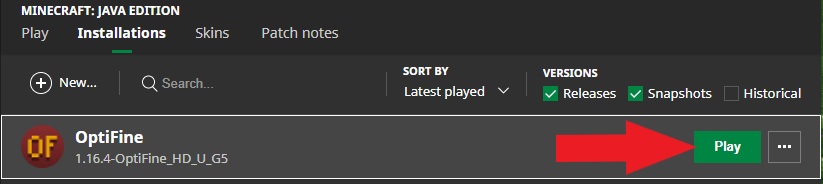
Now that you have Optifine installed, you should see the Optifine installation in your Minecraft Launcher.

- You will likely need to adjust a few settings in your Optifine installation from the launcher. Do this by clicking on the three dots next to the green Play button to the right of the installation, then click Edit in the drop down menu.

- Click on MORE OPTIONS.
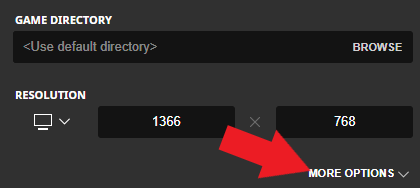
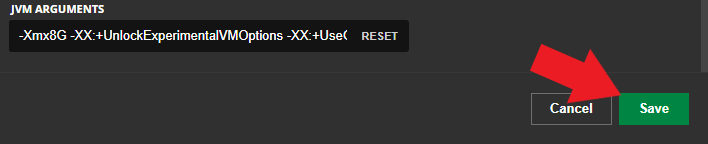
- Where you see JVM ARGUMENTS, you should see something that says -Xmx2G at the beginning of the box. Depending on the shader and texture pack combination, you will most likely need to change this number to something higher. My recommendation is anywhere from 4G to 8G, depending on performance and your PC specs. The general rule of thumb is no more than HALF of your system RAM.

- Once you have set this number appropriately, click Save
- Click Play
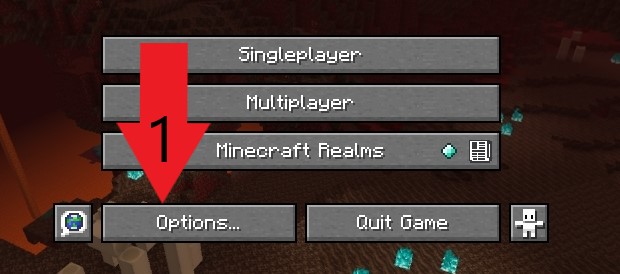
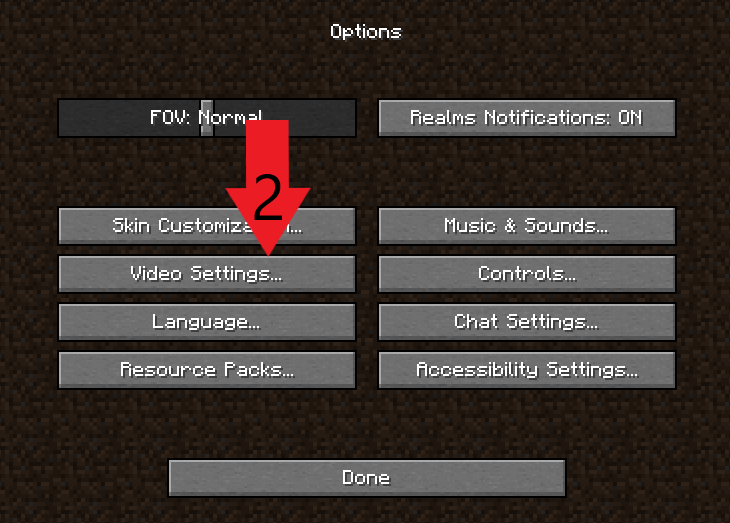
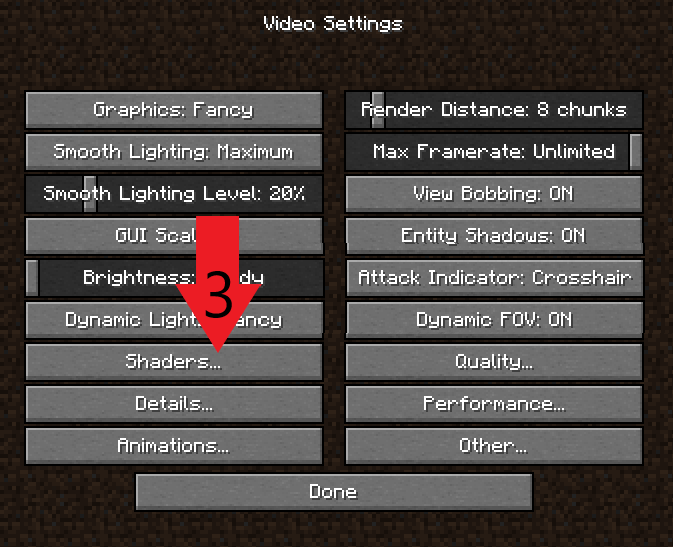
- At the main menu in Minecraft, click Options > Video Settings > Shaders
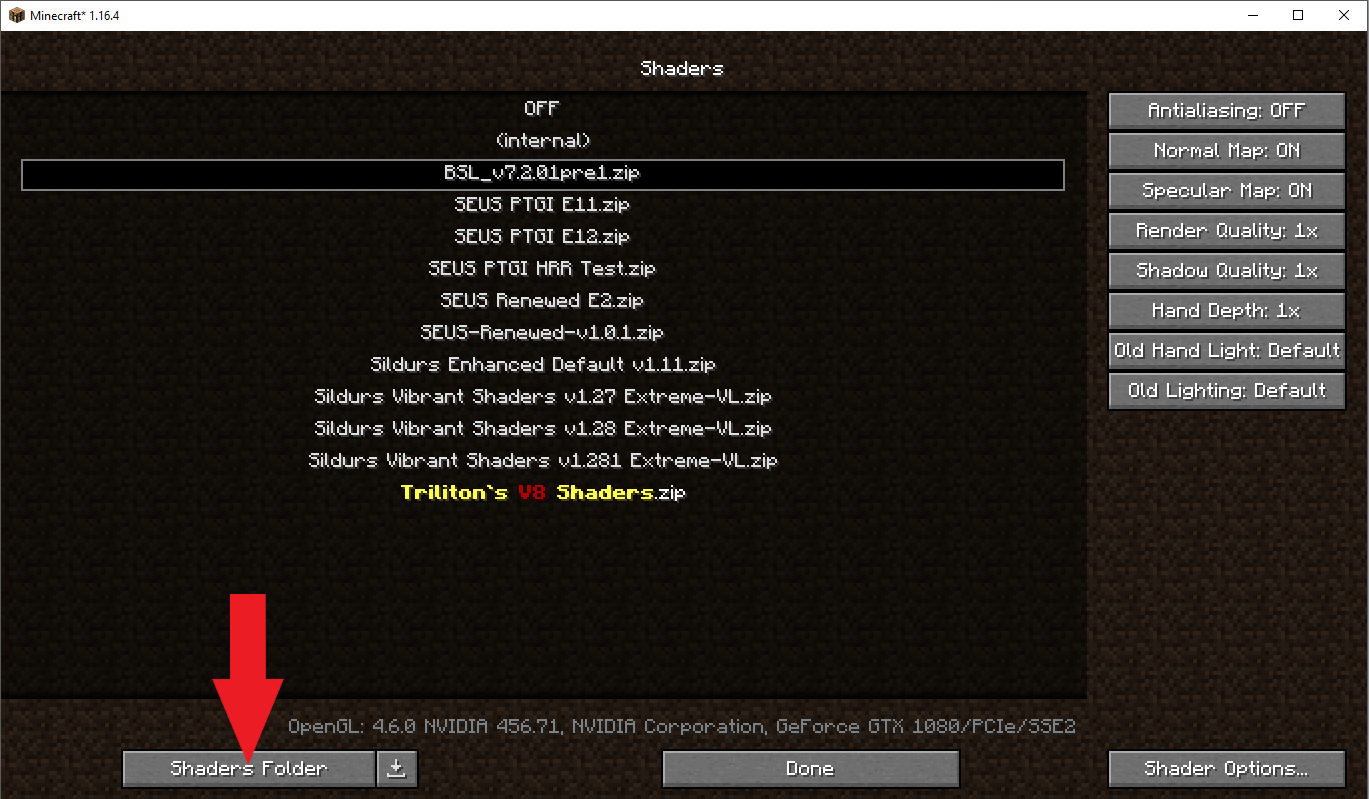
- Click on Shaders Folder in the bottom left of the Shaders menu.
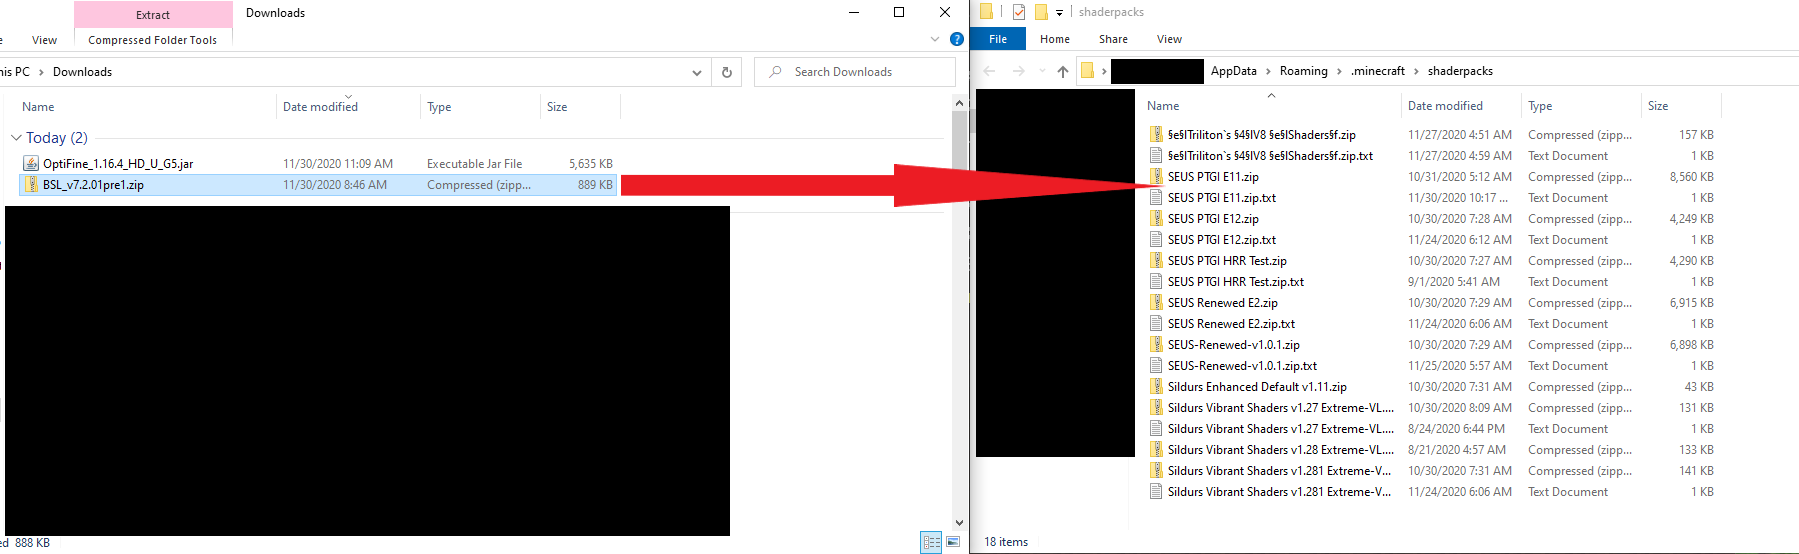
- Clicking on Shaders Folder should open up your AppData\Roaming\.minecraft\shaderpacks folder.

- After you download a shader pack, you will get a .zip file in your downloads folder. Take this .zip file, and place it in the shaderpacks folder inside .minecraft, and you should see it show up on your list of shaders at the shader selection window. DO NOT UNZIP THE FOLDER OR IT WILL NOT WORK!
- Now, select the shader you want to use from your list, click on it, and sometimes, the game will perform a loading sequence, other times, it will just enable the shader without going to the loading screen. Either way, this could take a little while and your game might seem like it’s frozen. DON’T TOUCH IT! If the shader fails to load, it will usually crash Minecraft, in which case, you have some troubleshooting to do. If the game seems like it is freezing, it is because the shader is loading still. Be patient and give the game time to load everything properly.
- If your shader DID load, you should be able to highlight the buttons on the shader selection window again. If it is still loading, the buttons will not be able to be highlighted and you should wait a bit longer for the shader to load.
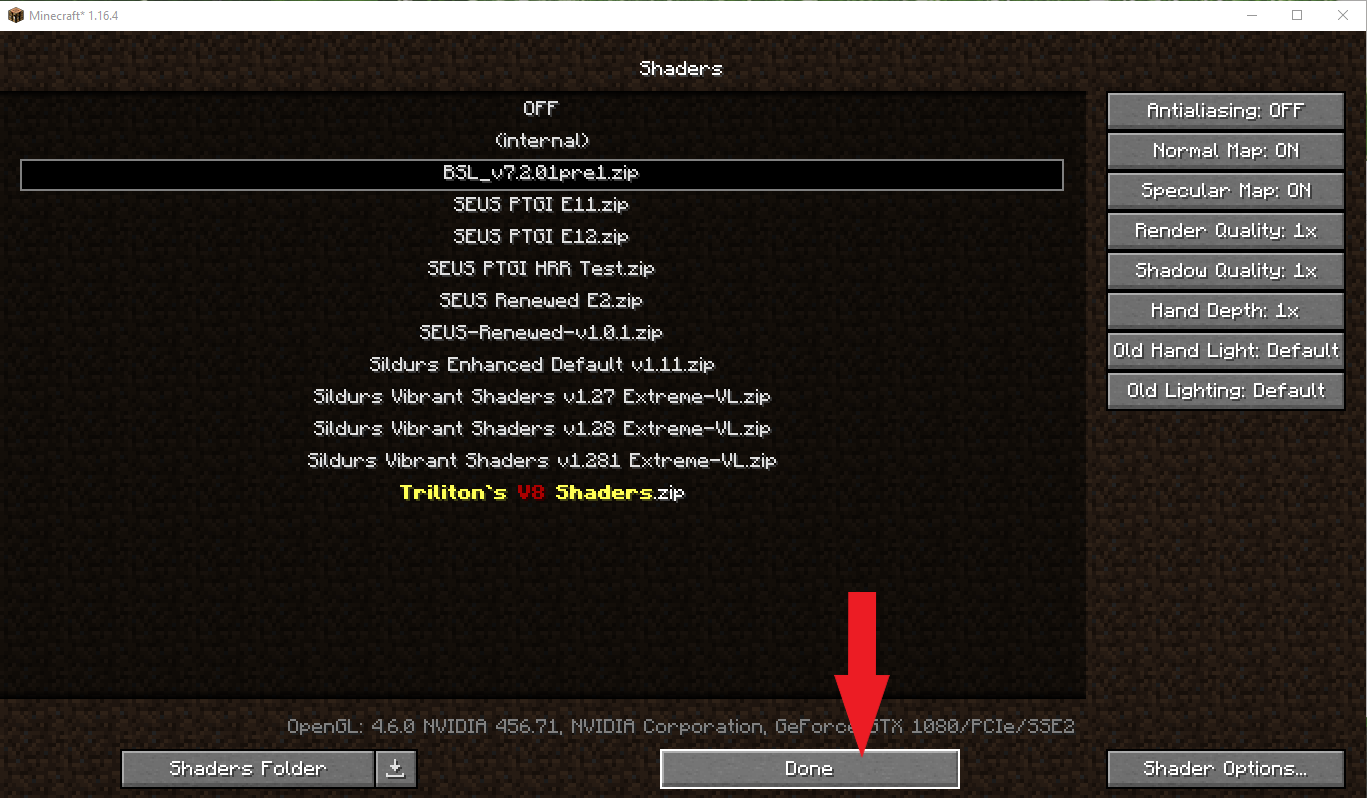
Once you are able to click the Done button in the shader selection window, your Shader is now selected and you are ready to play a gorgeous new Minecraft!
A Few More Important Things
Under Video Settings > Performance, you are going to want to have the following settings to get the smoothest gameplay possible.
- Render Regions: OFF
- Smart Animations: ON
- Smooth FPS: ON
- Chunk Updates: 1
- Lazy Chunk Loading: ON
- Fast Render: ON
- Fast Math: ON
- Smooth World: ON
- Dynamic Updates: ON
These settings will ensure your gameplay is as smooth as it possibly can be when it comes to Java Minecraft and its horrendous chunk loading. Render Regions is useful at higher render distances (12+) to optimize world loading. If you are using shaders and a high resolution texture pack, you are going to want to keep it below 10 to keep your PC from growing limbs and beating you over the head with your keyboard :D.
If you are using an older version of Minecraft (1.12.2 is the one that comes to mind), Fast Render will not work with shaders enabled. I don’t think it works with shaders until the most current version of Optifine for 1.16.4, so in this case, you won’t be able to turn it on.
Lastly, if you are playing a large modpack, regardless of the Minecraft version, you are going to have difficulty running shaders, let alone shaders with a large texture pack. Some modpacks work pretty smoothly with shaders and resource packs, but most of the large ones will be EXTREMELY laggy, or will end up crashing upon attempting to load the shader. Just keep this all in mind when trying to load shaders into a world with 200+ mods =).